1.3 KiB
1.3 KiB
Raspberry Pi Setup
Download the Raspberry Pi Imager from Flathub (or elsewhere)
Download Raspberry Pi OS Lite 64-bit from the Raspberry Pi download page
Open the imager and do the following:
- Choose custom image (at the bottom)
- Pick the OS file you downloaded
- Choose your SD card for storage
- Click the gear icon for settings
- Set hostname, enable SSH, set username/password, set WiFI as desired
- Click image
Once writing is done, put the SD card in and start up the Pi. Wait a minute for it to start and join the network.
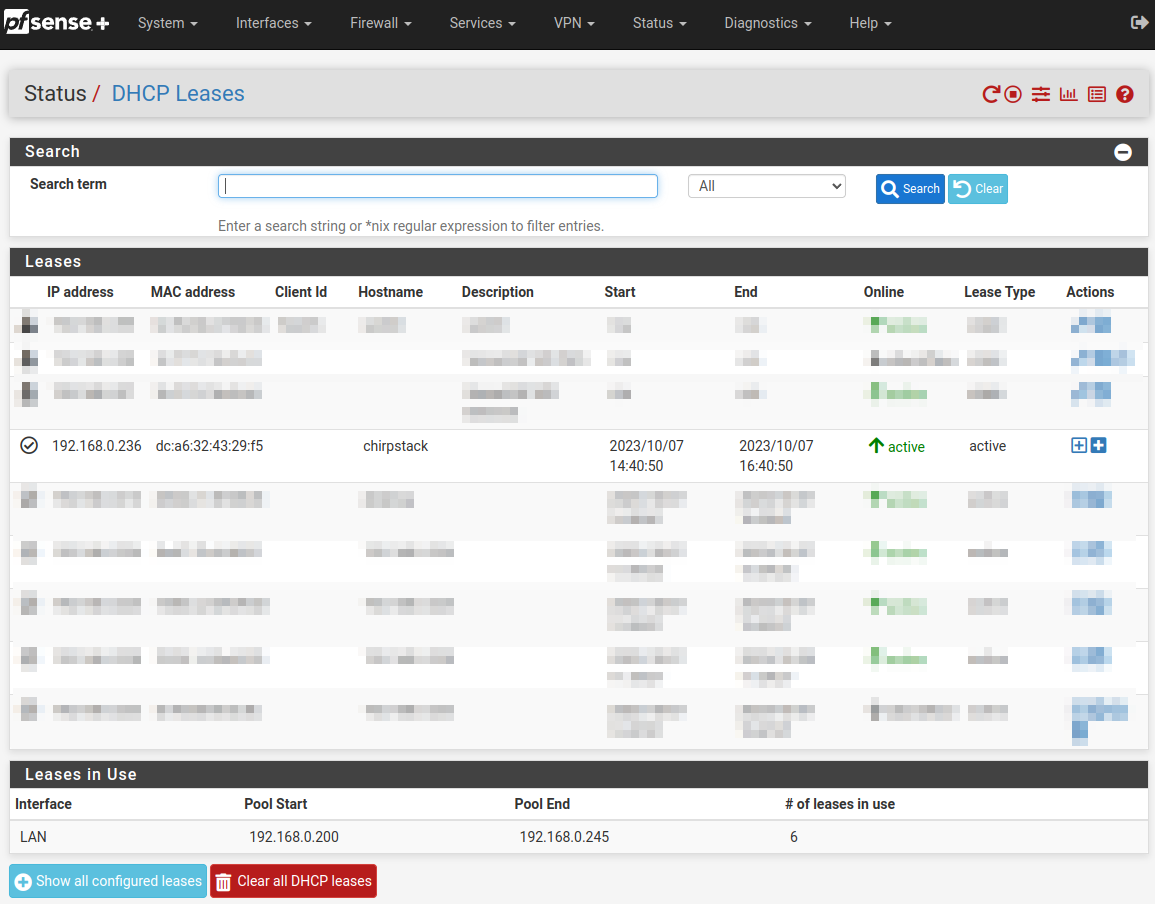
Find the IP address of the Pi via your router (look for DHCP leases) and SSH in.
Change the IP address to be static by adding the following to the bottom of /etc/dhcpcd.conf (modify for your own environment, using eth0 for wired):
interface wlan0
static ip_address=192.168.0.181
static routers=192.168.0.1
static domain_name_servers=192.168.0.1
Update, upgrade, and install Git: sudo apt update && sudo apt -y upgrade && sudo apt install -y git.
Reboot and SSH in to the new static IP you assigned.
The Pi is ready for the packet forwarder to be installed.